0
0
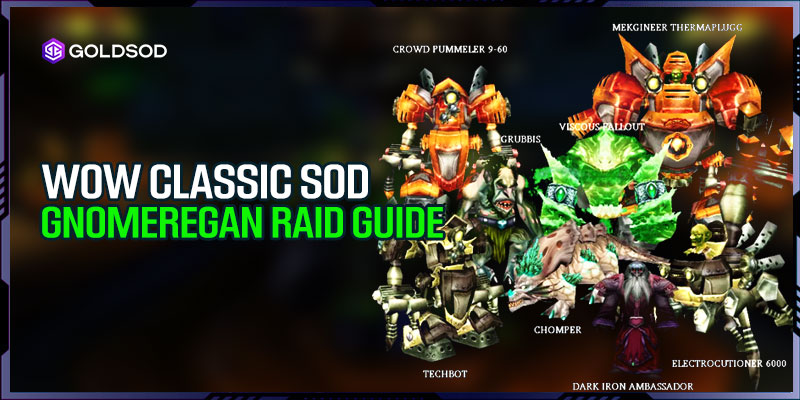
WoW Classic SoD Gnomeregan Raid Guide: Tips and Tricks
- Cheryl
- Share
- WoW Classic SoD
- 03/04/24
- 1244
Welcome to Gnomeregan, brave adventurers. If you want to dismantle a few deranged contraptions and come out on top (and alive, hopefully), then this is the place. This guide will show you how to maneuver through the twists, turns and mechanical hazards that lie in wait within this goblin-constructed maze. So gear up, steel your nerves and let's plunge into the melee.
- Preparations
- Boss 1: Grubbis
- Boss 2: Viscous Fallout
- Boss 3: Crowd Pummeler 9-60
- Boss 4: Electrocutioner 6000
- Boss 5: The Mechanical Menagerie
- Final Boss: Mekgineer Thermaplugg
- Class-Agnostic Tips
↖ Preparations
Before each boss fight there are a few things that everyone in your raid should have done. This is especially important if your class benefits from pre-boss set up (like Warriors building Rage).
- Pull a random trash mob before engaging a boss. Kill it and drop combat right before starting the real fight.
- Make sure all class specific buffs are active before pulling a boss. It's not always needed but helping others might get an extra buff out for yourself as well.
- This one is pretty obvious but teamwork makes the dream work: Help other people get their buffs ready too!
↖ Boss 1: Grubbis
Grubbis welcomes us as we enter the raid. Talk with him before three waves of mobs from north cave appear. Next, go to southern cave where irradiated clouds spawn. These annoying clouds cast a nature damage every two seconds for 75 per tick at everyone in the raid following player who was closest to their spawn point. Pulling them onto any trog allows them to deal massive damage (200% of a trog's health) within an 8-yard radius thus wiping out a wave entirely but consuming the cloud itself as it does so.

- Positioning: Set up in the tunnel where Grubbis spawns to immediately engage the boss.
- Macro Tip: Create a macro for targeting Grubbis and using your opening move, so you can get a split-second head start.
- Pre-Fight Prep: Leave one mob from the final trash before Gurbis to build rage/combos.
- Landmines: Drop Goblin Landmines under the boss's feet right before he gets there. It will explode when he walks over it.
↖ Boss 2: Viscous Fallout
In different corners of this room you will find bracers or water elemental corpses that prevent Radiated Goo from turning into Desiccated Fallout which has an interruptable or stunnable nasty raid-wide ability mostly needing some attention in order to avoid it. Let Grubas stay near one bracer while killing the goos going elsewhere and then on to him.
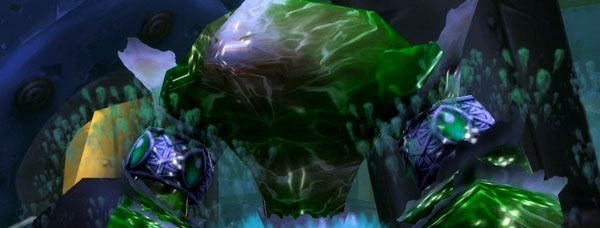
- Multi-target Damage: Use Whirlwind, Blade Flurry or AoE spells to burst down both Viscous Fallout and its goo at the same time.
- Focus Strategy: If you don't have good multi-target damage, focus on killing Viscous Fallout quickly instead of splitting damage between them.
- Desiccated Fallout: If your raid doesn't have enough DPS to ignore them completely, kill these adds as they can stack debuffs and wreck you with rapid ticks of large amounts of damage that could overwhelm your raid members‘ health pools.
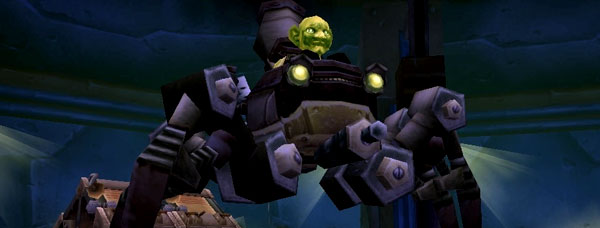
↖ Boss 3: Crowd Pummeler 9-60
Next in line is Crowd Pummeler, or should we rather say Nevergone Smash – a linear attack indicated by his feet direction. Be wary of gears all around the room as they will knock you into bombs dealing high damage. Starting at thirty percent health, he will apply The Claw which does damage over time once you are picked up. There is however a charge bug which is the true killer in this case since you have to keep very close to your tank so as not to attract any unnecessary melee hits.

- Do not stand on spinning cogwheels; they may throw you off the platform.
- Watch out for Neran Smash; it has 1-shot mechanic.
- Note his foot movements and get ready for its attack direction accordingly.
- Clot comes at 25% targeting someone in the raid with a damaging charge.
- Use teleportation abilities like Blink or Ice Block to soak Clot's hit.
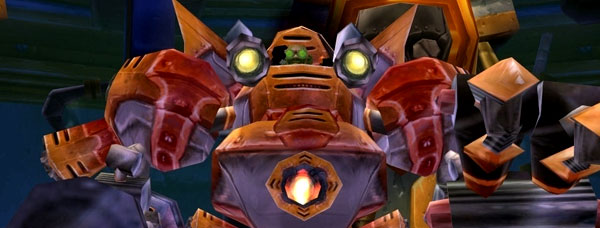
↖ Boss 4: Electrocutioner 6000
Lost? Don't go down there though because it's just stepping on an irradiated pathway that's death. Instead, head towards the workshop door. The Electrocuter 6000 who has three Discompilation Protocol (knockback all around), Magnetic Pulse (damage area around self) and Static Arc (chain deaths if not coordinated).
- Minimal Movement: Arrange your raid so casters/ranged DPS don’t have to move much and can keep up their damage output as much as possible.
- Static Arc Management: Assign a healer who is equipped with good mobility spells to control which player is being targeted by Static Arc by positioning themselves within or outside melee group to “bait” it into following him/her. The rest should be close enough that this is no problem for healer to do consistently throughout fight.
- Knockback Recovery: Ensure players return back to their designated spots after every knockback or magnetic pulse that they’ve been displaced by, because boss has self destruct ability that affects its current position relative everyone around it and if people are out of their correct positions it will waste entire strategy's effectiveness.
↖ Boss 5: The Mechanical Menagerie
Nutter Butter, Chicken Little, Lamb, and Bad Dragon. Each one of these bosses has aura, buff and signature ability. Manage them well especially their buffs like Fray Wiring (reflect damage back) and Overheat (take more damage). Other signature abilities such as Binary Bleat (silence) or Sprocket Fire Breath (stacking DOT) only serve to confuse things further.
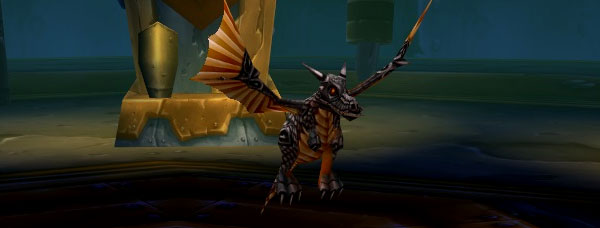
- Overheat Strategy: Pop a Fire Protection Potion and Overheat the dragon as soon as fight starts to increase damage dealt to all bosses in close proximity.
- Target Prioritization: Have all caster/ranged DPS focus on killing Sheep, while Melee/dps AOE down Dragon, Chicken, and Squirrel because non-magic based attacks do not work against sheep’s high magic resistance.
- Damage Reflection Caution: Make sure melee DPS does not attack Dragon when Sheep casts Frayed Wiring, because should that happen it will reflect damage back at player hitting it and could kill them if they are low health or get hit for a big chunk of their pool.
↖ Final Boss: Mekgineer Thermaplugg
Mekgineer Thermaplugg is multi-phase fight with a bomb strategy phase. Phases denote different elemental attacks corresponding with bombs' effects. Organize your team well to defuse bombs efficiently while cleansing debuffs intelligently too. Once you get to the last phase, time for some old school beatdown.
- Bomb Duty Rotation: It's an idea to rotate this role within your raid group rather than assigning one person to doing it every time so that your DPS isn't being constantly crippled by having one person focused on something other than putting out as much damage as possible every pull.
- Debuff Consistency: Apply Curse of Recklessness and Faerie Fire debuffs consistently across multiple tanks if you have several warriors/druids available so that both tanks are getting increased crit chance to proc Ragepool and debuffing Little Gnome with lower armor.
- Final Phase Focus: Fight doesn't end until Little Gnome is dead; make sure everyone is aware of this so that they don't assume boss dies at 30% because its HP bar empties out but then leave raid thinking fight is over only to realize several seconds later someone forgot to kill last part!
↖ Class-Agnostic Tips
- Landmines and Dynamite: Place Goblin Landmines where you'll fight bosses for an explosive start. Time another landmine or dynamite shortly after engaging by pulling at the right time..
- Potion Usage: Use Fire Protection Potions against bosses with fire-based AoE abilities. This minimizes how much damage they can do and lets you keep hitting them hard.
- Cooldown Management: Make sure you save your class cooldowns for moments when a boss is taking increased damage. It'll cause a big spike in your DPS.
- Target Prioritization: Don't waste time on minions or secondary targets that don't contribute much to a quick kill. Stick to what matters most based on your role.
Victory in Gnomeregan is not easy but with persistence, teamwork and maybe even a little gnome-like cleverness, you can do it. Those loot drops that are so shiny right now – don’t forget to watch out for them.
Most Popular Posts
- WoW Classic SoD Gold Farming: Top 7 Best Locations in Phase 2
- Season of Discovery Phase 2 Hunter BiS Guide: Best Gear Pick
- Season of Discovery Phase 2: In-Depth Class Tier List Analysis
- WoW Classic SoD Phase 3: Definitive Class Tier List
- WoW Classic SoD Lost Rigger Cove Loot Guide
- How Do I Make Gold Fast in Season of Discovery?
Popular Category Lists
- WoW Classic SoD / (41)
- WOW Classic / (1)